How to plan for the best photo booth experience
We've just about seen it all...
After being around the block a few times, we've encountered just about every obstacle there is when it comes to surprise set up locations at events. To prevent these instances from happening twice, we do our best to make sure brides, planners and all other clients know what it takes for a great photo booth experience at their event!
Here is what our photo booth requires for our signature top-notch experience!
Put the photo booth in an obvious location. Too many times we've seen clients place us outside of the main event hall. If guests can't see us, we're out of sight and out of mind, which just plain stinks! Just in case you're worried about us being distracting during speeches or dances, we make it a point to temporarily stop the photo booth during those times (and turn off our light) so we're not taking attention away from the special moment!
Acessibility. Make sure the route we'll need to take to get to the set up space is wheelchair accessible. Until someone creates an affordable, futuristic, stair-climbing rolling cart for all of our gear, we prefer elevators and wheelchair ramps. Plus, you want to make sure any disabled guests can access the photo booth once we're up and running! If our only option is a non-wheelchair accessible route, we can make it happen, but there is a small fee that will need to be added to the invoice.
Space requirements. We need a space that is at least 6’ long by 9’ wide by 10' high, but a 10'x10'x10' space is ideal! Make sure to leave space for a line as well.
Power. We need a wall outlet (110V, 10 amps, 3 prong outlet) that is dedicated for the photo booth. Sharing an outlet with a bunch of other things like the DJ or lighting can sometimes overpower the plug, but we have a 20 foot extension cord that can help us reach a far away outlet if needed.
Place us inside. Texas weather is unpredictable, and who wants to go outside and get all sweaty just to take a photo? Be proactive and carve out a space for us inside your event hall so weather is never an issue! If your only option is to put us outside, we can be placed on concrete under an awning, like a porch, or under a 10x10 tent with three tarp walls to protect the backdrop from wind. Also, if you're feeling a bit generous a portable a/c unit or fan will keep our attendant happy and energized to entertain your guests! The photo booth may not be placed on grass or wet ground.
Keep us away from sunlight. Sunlight shining on the photo booth creates harsh shadows on the guests taking photos (not to mention it causes squinty eyes!), but also be wary of putting the backdrop against a window during daylight hours since the light might shine through the backdrop. On the subject of light, make sure there's not pot lights or chandeliers right above our space. Those sometimes cause crazy shadows! If there is a light above the photo booth, it can either be turned off or the lightbulb can be sneakily unscrewed and then replaced after the event!
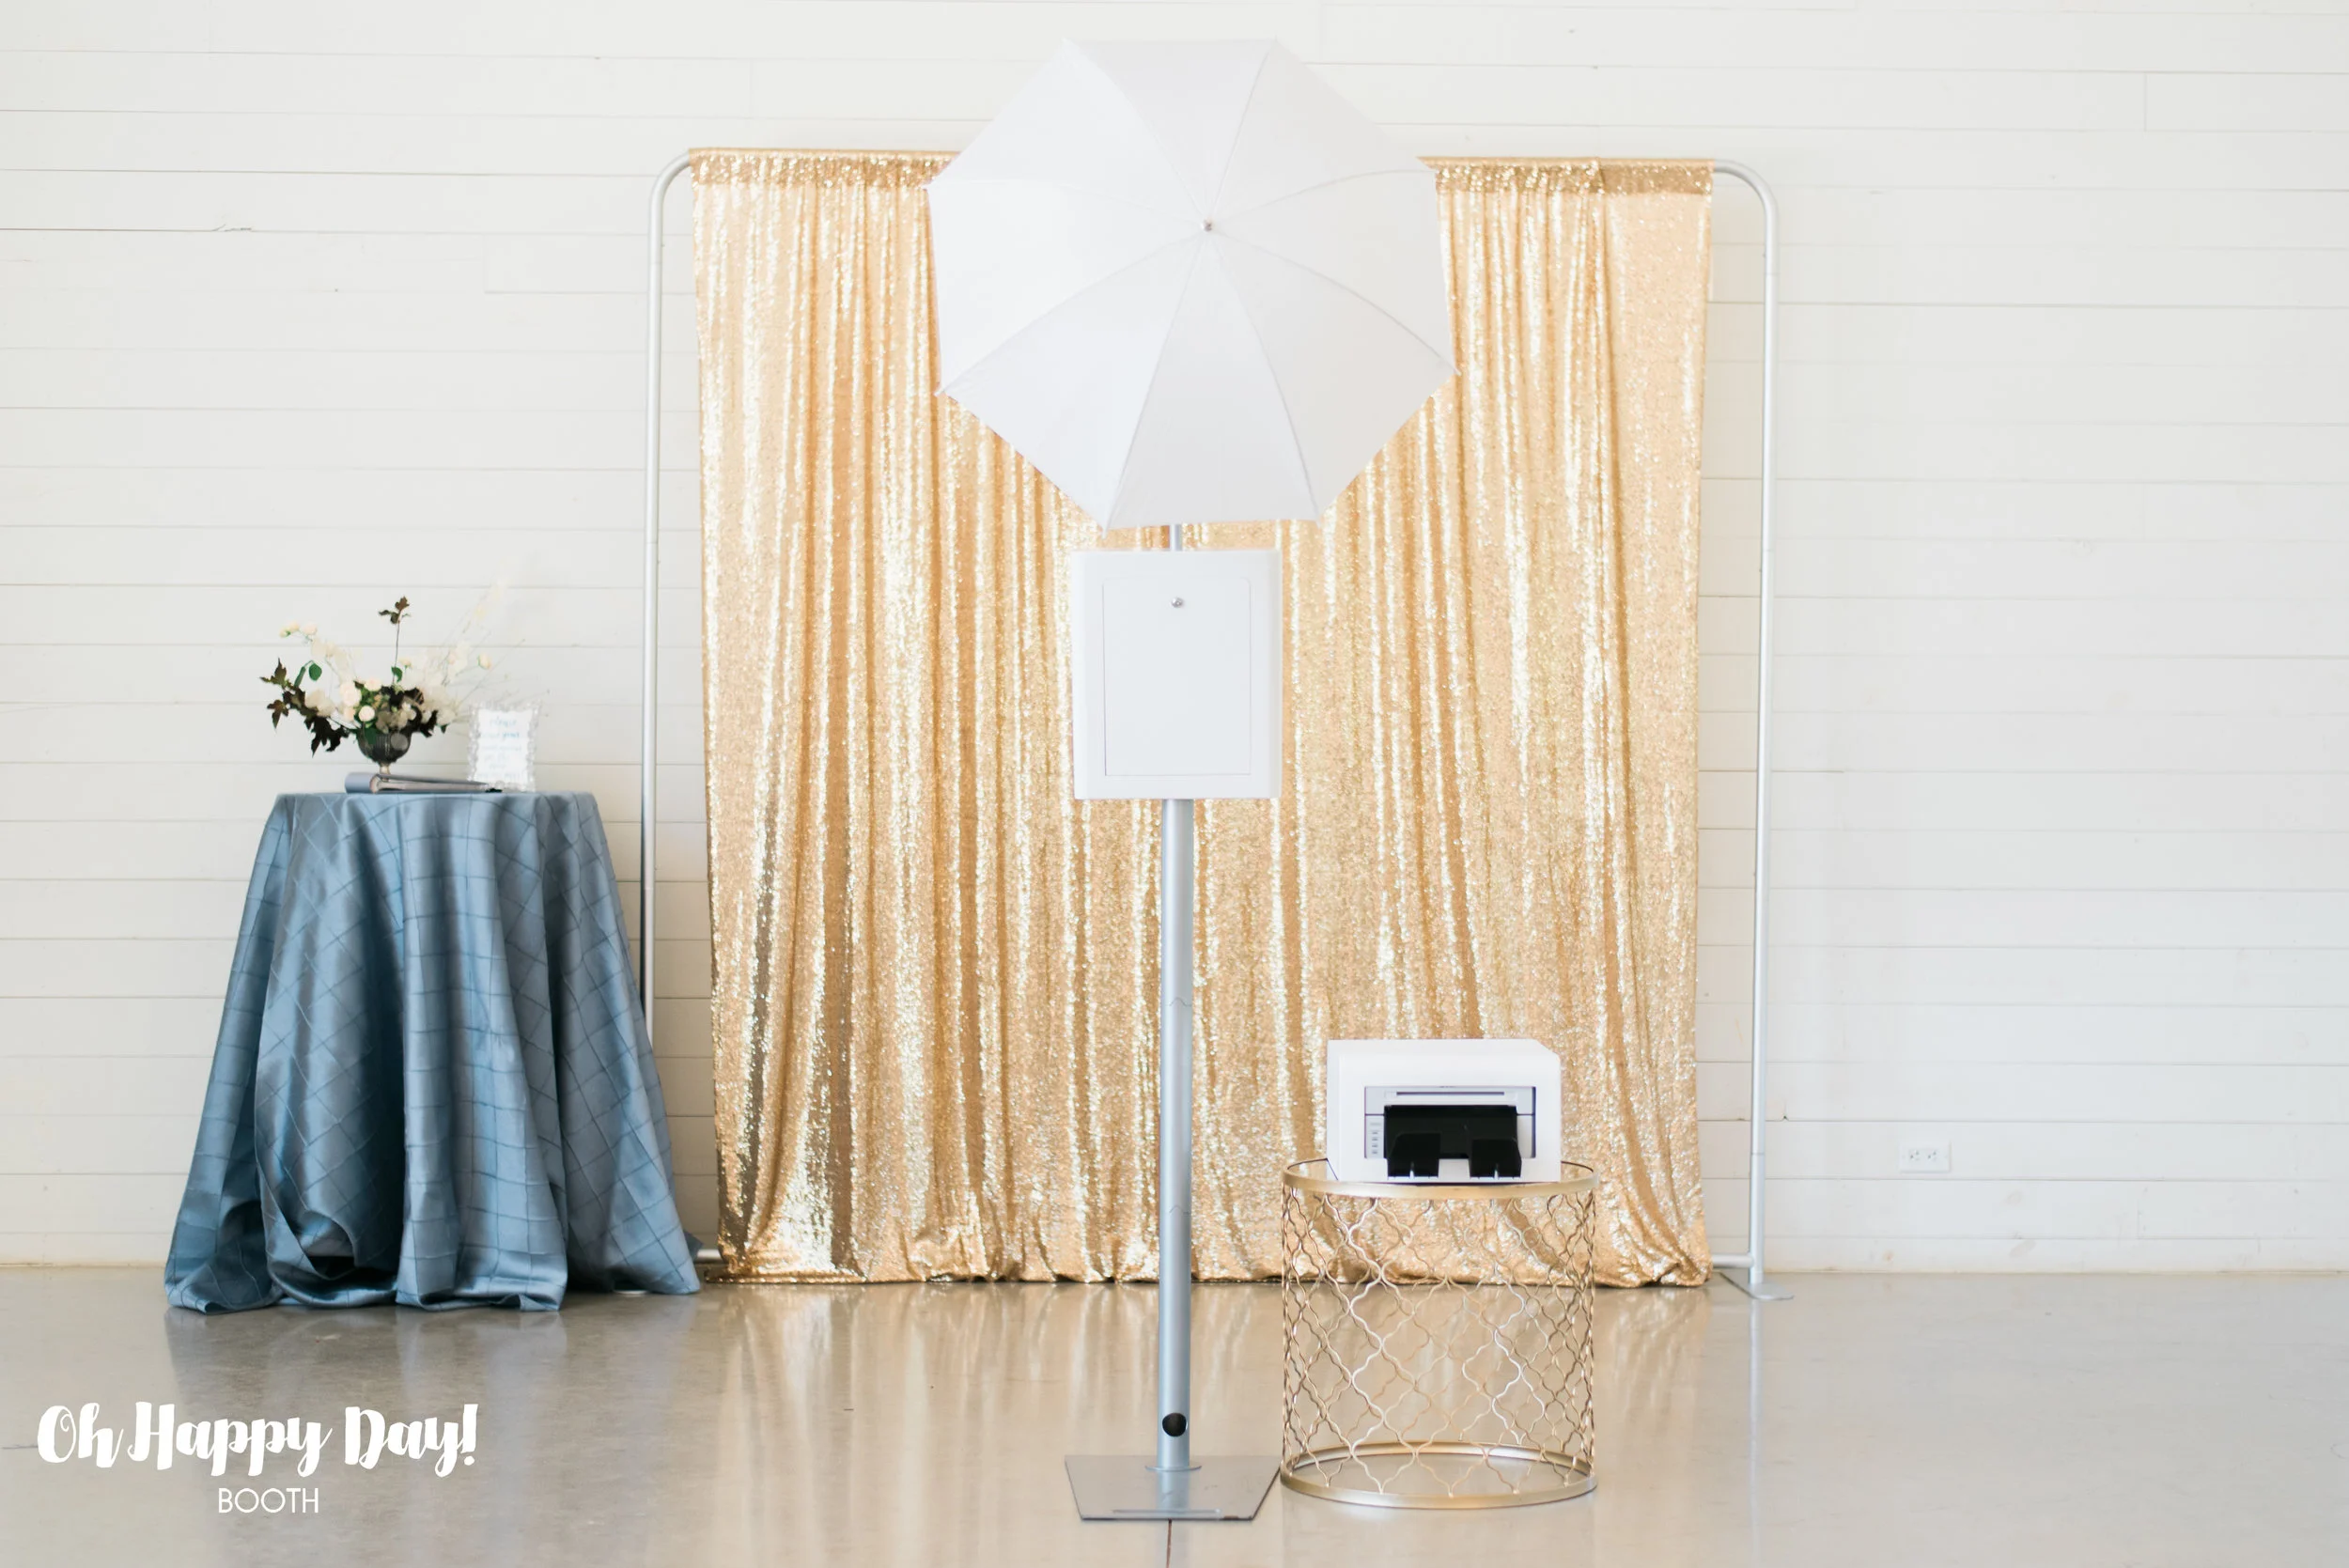
Provide a 6-foot table with a linen that matches the rest of your event decor. We highly encourage all our clients to do this because it makes the photo booth look like it actually belongs at your event, and is not just an afterthought stuck in the corner. We also like to have at least one separate cocktail table to place near the photo booth, so guests have a spot to set their drinks while they cheese it up in the booth! If you really want to spruce up the space, repurpose a floral arrangement from your ceremony and place it on a corner of the table near the photo booth, or create a special sign that says "Photo Booth" or one that has your event hashtag on it.
That may seem like a lot, but at most of the Austin venues we've encountered, there are usually a handful of set up options. If you're struggling with how the photo booth will work in your space, shoot us an email and we'll be happy to explain what we've done at your venue before!

